;fill-rule:nonzero;stroke:%23000;stroke-width:48.7px;'/%3e%3cdefs%3e%3clinearGradient%20id='_Linear1'%20x1='0'%20y1='0'%20x2='1'%20y2='0'%20gradientUnits='userSpaceOnUse'%20gradientTransform='matrix(2406.25,-2101.13,2101.13,2406.25,1086.43,2157.14)'%3e%3cstop%20offset='0'%20style='stop-color:%232d1f30;stop-opacity:1'/%3e%3cstop%20offset='1'%20style='stop-color:%239f5060;stop-opacity:1'/%3e%3c/linearGradient%3e%3c/defs%3e%3c/svg%3e)
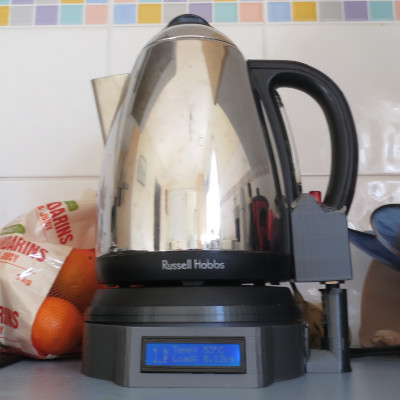
Connected Kettle
Many people who get involved with home automation for the first time start with configurable lighting, and then move to automating kitchen appliances. My most frequenly used kitchen appliance is a kettle, the obvious choice is to automate my kettle.
It would have been easy enough to buy some random IoT-enabled kettle off the shelf, but where's the fun in that?

In addition to the individual articles below, the codebase is available in my connected-kettle repository on GitHub.
Stage 1:
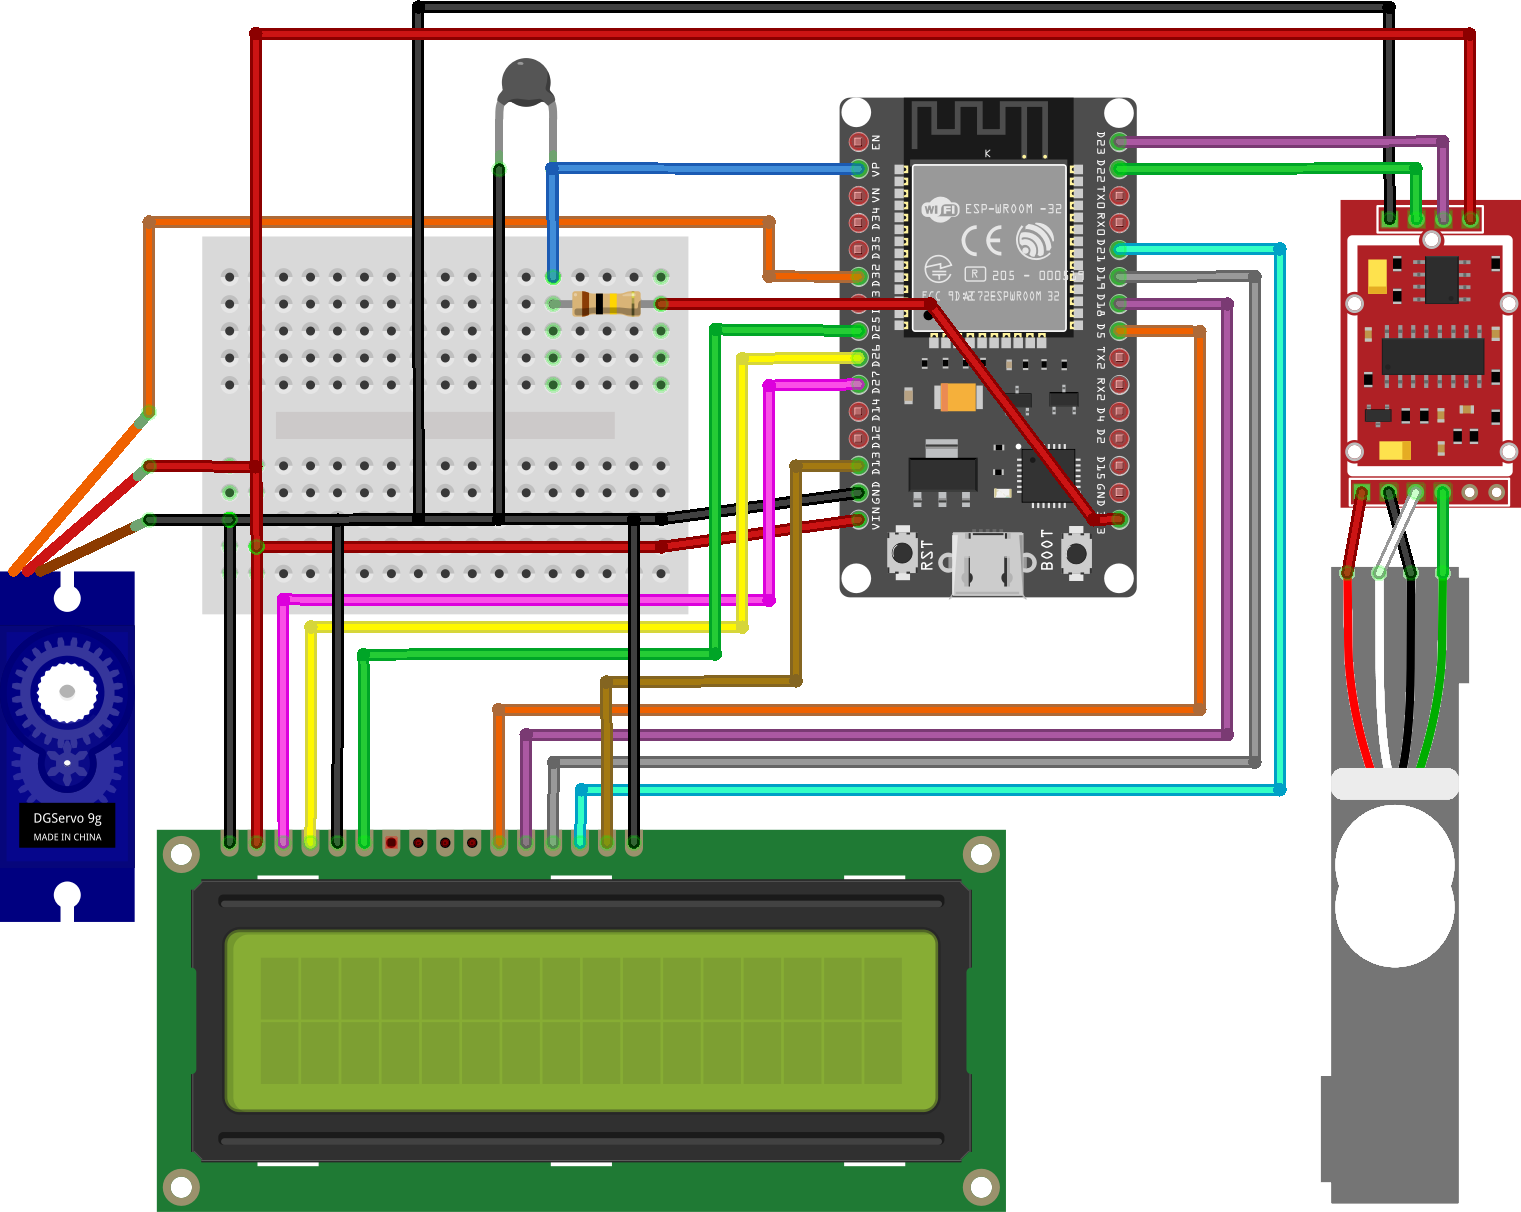
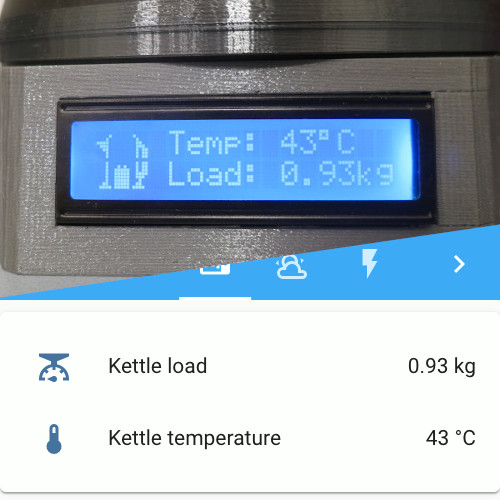
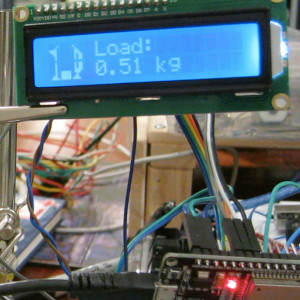 Connected Kettle: Scale and display
Stage 1 is proof of concept that an ESP32 connected to a scale could be use to measure the weight of a kettle, as a means of approximating how much water is inside it and show the output on a display.
Stage 2:
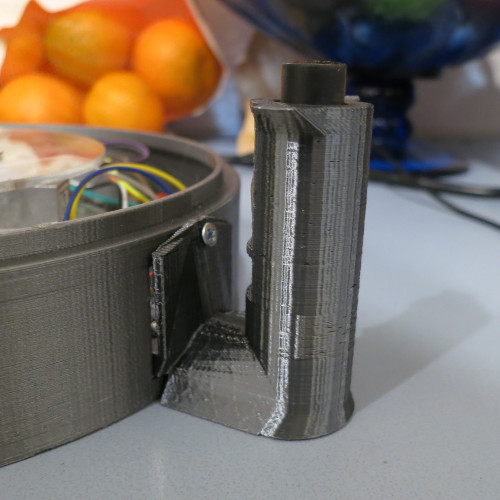
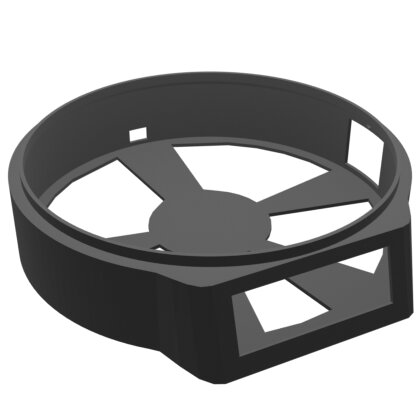 Connected Kettle: Enclosure
Stage 2 shifts attention towards a 3D printed enclosure for the ESP32, scale, display, and future extensions. This involves prototyping shapes that fit the components comfortably, and then moving on to the integrated prints.
Stage 3:
 Connected Kettle: Temperature reading
Stage 3 is the first point of contact with the kettle itself, using a thermistor attached to the kettle surface to calculate the temperature of the water inside. This also includes the extra code involved with transforming the thermistor reading into a temperature in °C.
Stage 4:
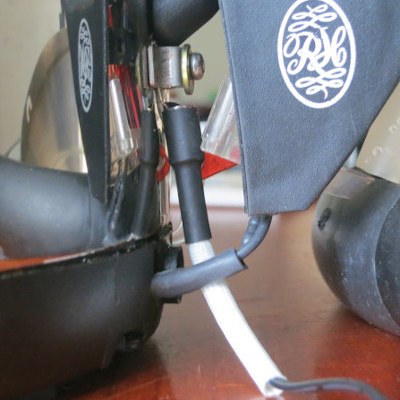
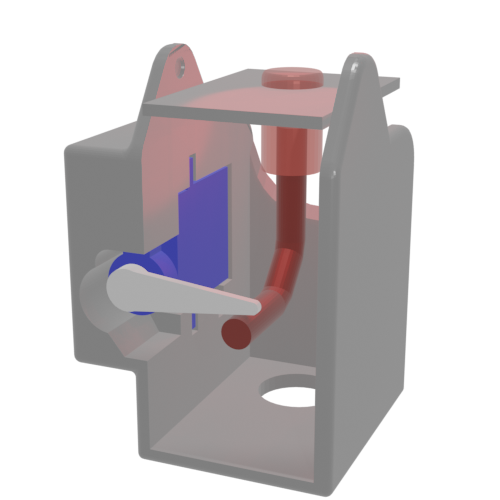
 Connected Kettle: Handle attachment
Stage 4 introduces an attachment for the kettle handle, with a hardware interface between the attachment and the enclosure base for connecting and disconnecting the thermistor easily.
Stage 5:
 Connected Kettle: Home automation integration
>
Connected Kettle: Home automation integration
>
Stage 5 returns to the ESP32, using MQTT over Wifi to communicate with a
 Home automation system.
Stage 6:
 Connected Kettle: Remote operation
Stage 6 adds a servo to the handle enclosure to activate the kettle on demand. The existing home automation integration is expanded to allow the servo to be triggered remotely.
If you have feedback or questions about this article, let's catch up via email.

 All articles
 About Sinclair Studios